Keyboard Parts for Dummies
Building your own custom keyboard is never easy, and navigating the endless options of keyboard parts is even more difficult. Keyboard parts are all chosen based on preference. Sure there are some more than others, however, it's mostly based on whichever part fits you most. All the parts here are available at KBD Fans. This article should assist people who don’t know where to start when it comes to picking parts.
Case
The first thing you should probably think about is what size keyboard you would prefer. Some of the most common sizes include: Full-Sized (104 Keys), Tenkeyless (87 Keys), and 60% (68 keys). The only difference between these three, is that people compromise some keys like the number pad, arrow keys, F1-F12 keys, and so on. My personal favorite keyboard size is the TKL (Tenkeyless). It’s not too big to the point where I can’t move it, and it isn’t too small so they didn’t compromise many keys. Other people may prefer less-common, smaller sized ones such as the 75% and 40%. After deciding which size you would prefer, you should look into all the different brands and materials. There are different materials which can make the keyboard heavier or lighter. Some of the popular heavy cases are aluminum and acrylic, and some lighter ones include plastic and wood. In terms of aesthetics, it's really up to the person who is going to be using it but almost every color keyboard is available somewhere online.

Tofu60 Aluminum case
PCB (Printed Circuit Board)
After choosing a case, there are only so many options you can pick for a PCB. A PCB is basically the brain of the keyboard. It has all the fundamental parts required to actually power everything. Once you choose a keyboard size, you need to find out whether or not the PCB is compatible with your case and size. Some websites offer recommendations for PCBs once you buy a case. There are two main types of PCBs:
Hotswap
Hotswap PCBs are ones that are generally easier to work with because they don’t require the switches to be soldered in. You can simply pop different switches in and out. Hotswaps give you more freedom when it comes to keyboard building. Not only because it's much easier, but because the PCB can be reused in multiple keyboards because of how easy switches can be replaced.

Soldered
Soldered PCBs generally require more experience to use and build. Switches have to be soldered using a solder rod. The solder rod is like a stick of metal which people melt in order to connect things with a higher chance of it staying together. If this is your first keyboard, I’d recommend going with hotswap PCBs.

Plate
In terms of the keyboard’s plate, you have to pick one in accordance with the PCB. Plates generally go over the PCB and it generally just acts as support for the switches and PCB and it keeps everything together. There are many different material plates you could choose from. These include Brass, Aluminum, Polycarbonate, or Plastic. Ideally, plastic would be the cheapest option however, I would recommend going with polycarbonate or aluminum as they are the best for their prices. Overall, if you wanted to spend more on a certain part I would recommend splurging on PCBs or switches rather than plates, just because the different materials don’t really make a big difference.

Brass Plate
Switches
Switches are a fundamental part of the overall keyboard building experience. There are hundreds, maybe thousands of different switches to choose from and they truly make or break a custom keyboard. Switches come in different colors and functions. Some make really loud clicky noises and others are quieter and faster. Switches can be grouped into three types:
Linear
Linear switches are the types of switches that cater more towards video game players or people who like a quieter environment. Linear switches are smooth and consistent and have little to no noise. Linear switches usually have the fastest response time which is why gamers prefer it. Some popular linear switches are the Cherry MX Red and the Gateron Ink Black (both are great choices)
Tactile
Tactile switches are ones with sort of a small bump everytime you click it. These switches have moderate noise and are favored by beginners and people who like typing noises. Tactile switches are very beginner-friendly due to their ability to offer great feedback while typing. This allows you to know how well the keyboard is working just by the sound the switches are making.

Clicky
Clicky switches are switches that focus on producing a loud audible click noise with each click. They also produce a tactile bump which makes it really satisfying to type. This switch isn’t for everyone because the loud sound can get really annoying, really quickly.

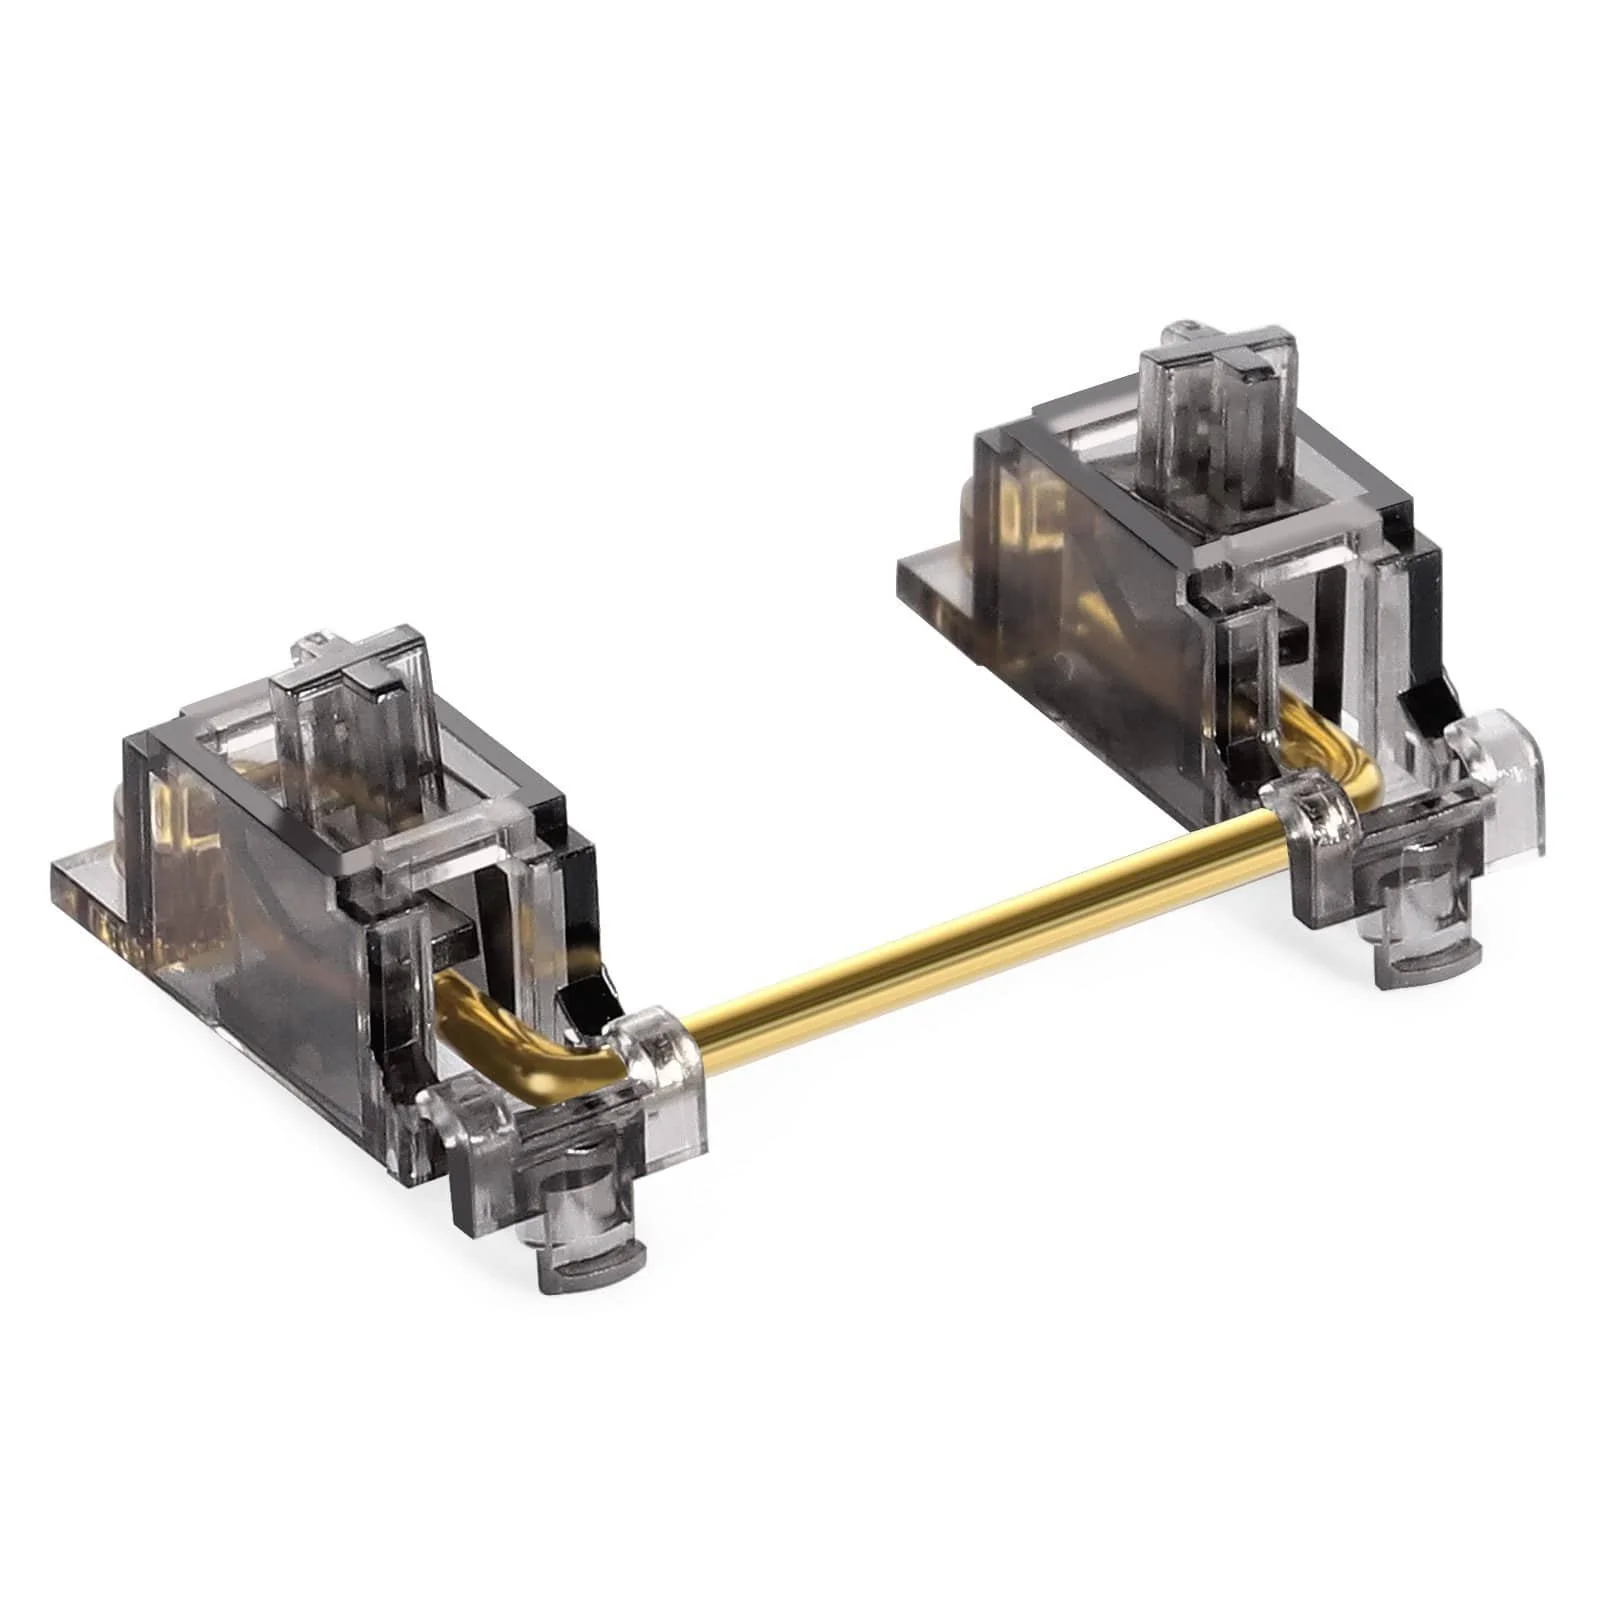
Stabilizers
Stabilizers are a key component in helping the larger keys be stable (spacebar, enter, capslock). They balance out the key so it's not leaning over to a certain side. There are three main types of stabilizers:
Cherry Style
Cherry style stabilizers are by far the best and most commonly used stabilizers today. They are favored mainly because of their ability to be easily modded. They are also the easiest to install and remove.
Costar
Costar stabilizers are more common in older keyboards. Although they work well, they’re a pain to install and I wouldn’t recommend them to beginners.

Optical
Optical stabilizers are ones where the actual stabilizer is built in and you have to attach a connector piece to the actual keycap to apply it. These are common in funkier-styled keyboards like the Razer Huntsman Mini.

Keycaps
Lastly, we have keycaps. So, keycaps make no difference whatsoever when it comes to the keyboard’s functionality, unless you have really bad keycaps. They are mainly chosen based on aesthetics and colors that match the rest of the parts. So you have full creative freedom when it comes to keycaps.

Kenokeys’ jett keycaps